No mundo atual, os cassinos ao vivo estão ocupando uma parte cada vez maior do mercado. Muitos provedores populares estão competindo pelo controle desse nicho, considerando-o lucrativo e promissor. E, a cada mês, mais e mais jogos são lançados no formato ao vivo. O Speed Roulette é um ótimo exemplo de como criar bons jogos ao vivo. Nesta análise, você conhecerá todos os seus recursos, estratégias e outros segredos.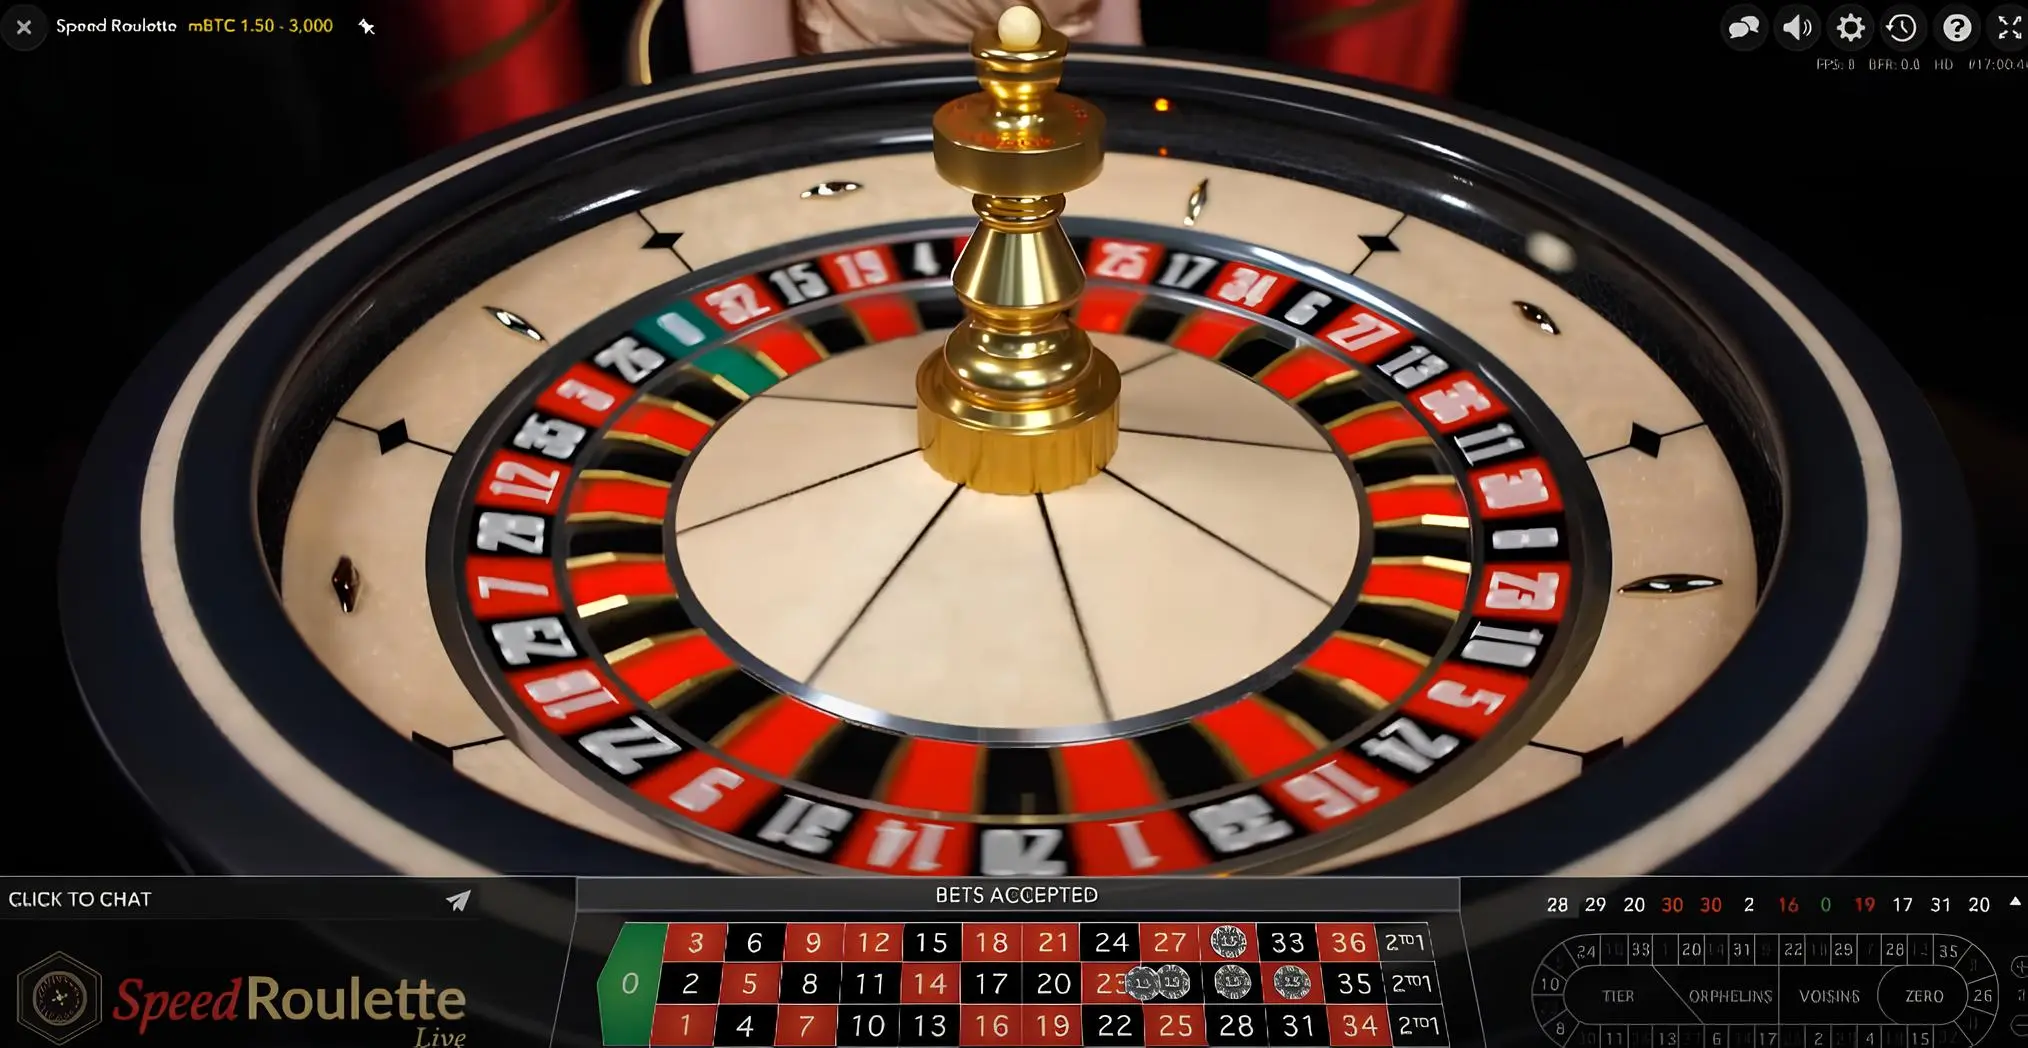
O que é Speed Roulette?
A Speed Roulette é uma variante da clássica roleta europeia, lançada em um formato ao vivo em plataformas on-line com regras ligeiramente modificadas. O jogo começou a ganhar popularidade em 2018, quando os jogadores o viram pela primeira vez em diferentes cassinos.
A diferença mais importante entre a Speed Roulette e a roleta europeia comum são as rodadas rápidas e dinâmicas, que duram 25 segundos cada (na roleta comum, elas duram vários minutos). Tudo isso torna possível apostar com mais frequência e, consequentemente, jogar mais rodadas com o mesmo tempo de jogo.
A Speed Roulette no Brasil é fornecida por vários provedores populares, incluindo Evolution Gaming, Pragmatic Play e Playtech. Você pode saber mais sobre as diferenças entre o jogo de diferentes provedores na tabela abaixo:
| Critério/Provedor | Pragmatic Play | Evolution Gaming | Playtech |
| RTP | 97,3% | 97,3% | 97,3% |
| Volatilidade | Médio | Médio | Médio |
| Faixa de taxa | 1-5000 | 1-5000 | 1-5000 |
Em geral, a Speed Roulette de diferentes provedores pode diferir apenas em seu design visual e acompanhamento musical. Em todos os outros parâmetros, o jogo é idêntico.
A soma de todos esses fatores possibilita que os jogadores sintam a emoção e a magia dos sorteios aleatórios como em um cassino ao vivo, mas em qualquer lugar e a qualquer momento conveniente.
Por que Jogar Speed Roulette no Brasil?
A Speed Roulette, apesar de usar as regras da roleta europeia clássica, tem várias vantagens em relação à sua antecessora. Revestida com uma capa moderna, a Speed Roulette é uma ótima versão de como a roleta moderna deve ser. Algumas das vantagens do jogo incluem:
- RTP alto
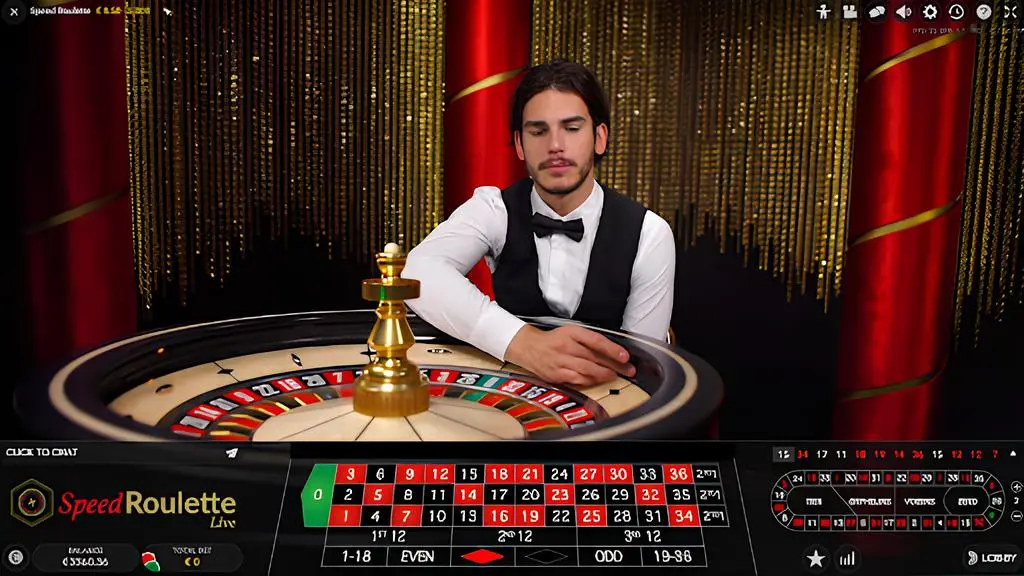
- excelentes gráficos fotorrealistas (a transmissão é realizada em um estúdio real com o uso de equipamentos modernos)
- disponibilidade em todos os dispositivos com acesso à Internet
- ampla gama de apostas
- o jackpot pode trazer um pagamento de 35:1
A Speed Roulette é perfeita para os jogadores que estão sempre em movimento. Para eles, a velocidade e a eficiência são importantes, e essa é a principal vantagem da Speed Roulette.
Onde Jogar Speed Roulette no Brasil?
Para jogar Speed Roulette no Brasil, é preciso encontrar um cassino de confiança que ofereça todas as condições para um jogo seguro. Existem muitos cassinos on-line confiáveis e seguros no Brasil, entre os quais podemos destacar:
- BC.GAME
- LeoVegas
- Fresh Casino
Nesses cassinos, você encontrará todas as licenças necessárias para operar legalmente no Brasil. Além disso, eles oferecem vários bônus e promoções para jogadores brasileiros, como códigos promocionais, bônus de boas-vindas, torneios com prêmios ou cashback para suas apostas. Você pode ler mais sobre eles no site do cassino, na seção relevante.
| Cassino | Disponibilidade de idiomas | Interface | Disponibilidade de serviços de suporte |
| BC.GAME | Todos os principais idiomas do mundo, inclusive o português | Interface intuitiva dividida em blocos | 24/7 |
| Fresh Casino | Todos os principais idiomas do mundo, inclusive o português | Interface intuitiva dividida em blocos | 24/7 |
| LeoVegas | Todos os principais idiomas do mundo, inclusive o português | Interface intuitiva dividida em blocos | 24/7 |
Dicas e Estratégias para Jogar Speed Roulette
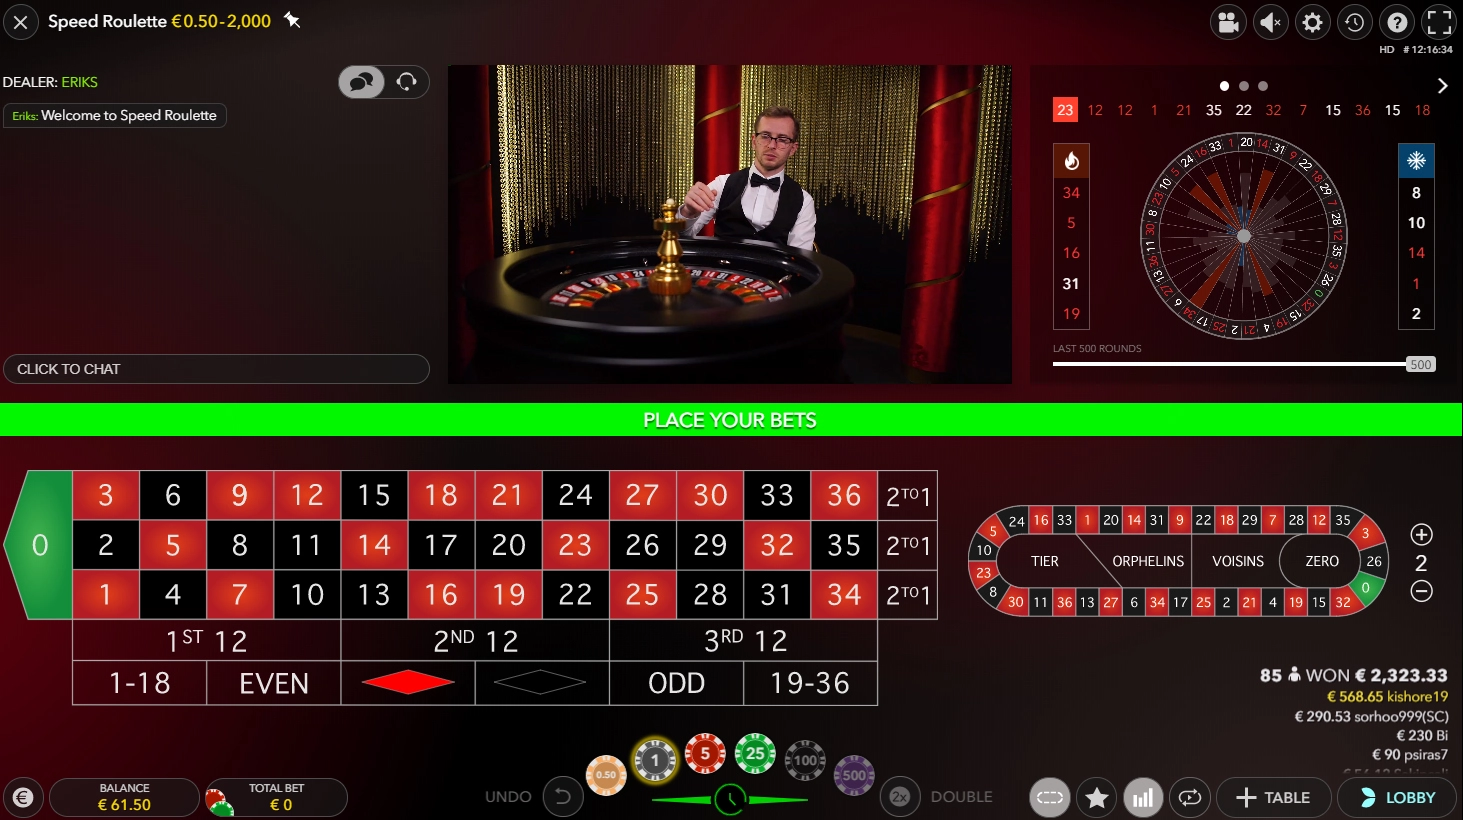
Como a Speed Roulette é baseada nas regras da roleta europeia clássica, o princípio do jogo é semelhante. O jogador pode apostar nos setores externo e interno, bem como em opções de apostas especiais. Mais detalhes sobre as apostas podem ser encontrados na tabela.
| Proposta | Explicação |
| Interno | Aposte no setor interno do campo de jogo, com baixas chances de ganhar e altos pagamentos |
| Externo | Aposte no setor externo do campo de jogo, com grandes chances de ganhar e baixos pagamentos |
| En Prison | Após um volume de negócios igual a zero, a possibilidade de retomar as apostas (se a aposta tiver sido no par) |
| La Partage | Se for tirado um zero e a aposta estiver em chances iguais, o jogador perderá 50% dos ganhos |
Como em qualquer outro jogo de azar, na Speed Roulette é preciso manter o controle da sua banca e não se esquecer do autocontrole emocional. Aqui é importante ter uma mente tranquila que lhe permita se concentrar no jogo.
Não existe uma estratégia na Speed Roulette que traga 100% de vitória aos jogadores. Só posso aconselhá-lo a começar com apostas mínimas, aumentando-as gradualmente, concentrando-se na porcentagem de vitórias e derrotas. Também não se esqueça de que a chance de ganhar é maior ao apostar no setor externo do campo, mas eu combinaria apostas em setores diferentes – dessa forma, a variabilidade do jogo aumenta.
Speed Roulette é Seguro no Brasil?
Jogar em cassinos on-line no Brasil é totalmente legal e jurídico. Não há restrições para o negócio de jogos de azar virtuais no país, sendo necessário apenas abrir uma licença no país.
No entanto, existem dezenas de cassinos on-line no Brasil e você deve ser o mais responsável possível ao escolher um deles. Certifique-se de verificar a disponibilidade de uma licença de jogo para o Brasil, a política de privacidade e ler as avaliações dos jogadores (se houver). Dessa forma, você poderá se proteger de golpistas.
Os cassinos confiáveis operam uma variedade de sistemas que evitam a possibilidade de fraude, além de oferecer proteção máxima para todos os dados do servidor. Não se esqueça da equipe de suporte: nos cassinos licenciados confiáveis, eles oferecem assistência em tempo real 24 horas por dia, 7 dias por semana.
Speed Roulette vs. Outras Variantes de Roleta
Ao contrário do fato de que o jogo Speed Roulette é baseado na roleta clássica, ele tem seus próprios recursos. Você pode encontrar uma comparação mais detalhada nesta tabela.
| Caracterização | Speed Roulette | Roleta americana | Roleta francesa |
| Número de células | 37 | 38 | 37 |
| Estrutura da tabela | Sem setores de apostas e sem apostas adicionais | Setores de apostas e apostas adicionais | Setores de apostas e apostas adicionais |
| Probabilidades | Setor interno/externo, cores, números | Setor interno/externo, cores, números | Setor interno/externo, cores, números |
| Probabilidade de vitória | Depende do setor em que a aposta foi feita | Depende do setor em que a aposta foi feita | Depende do setor em que a aposta foi feita |
| Velocidade das rodadas | 25 segundos | 2-3 minutos | 2-3 minutos |
Se você tiver a oportunidade de experimentar diferentes variantes de roleta, isso é ótimo, pois assim poderá escolher a perfeita para você. Caso contrário, não vejo nenhum problema nisso, pois as regras e a aparência de todos os tipos de roleta acima são praticamente as mesmas (exceto pelo fato de que em um cassino real só é possível jogar determinados tipos de roleta).
Conclusão: Speed Roulette – A Escolha dos Jogadores Dinâmicos
Se estiver interessado em um cassino ao vivo, mas não tiver tempo para jogar em um e quiser fazer o maior número possível de apostas em um tempo limitado, o Speed Roulette é o jogo ideal para você.
O jogo oferece uma ótima combinação de acessibilidade e clássicos, você pode aproveitar a jogabilidade literalmente em qualquer lugar onde haja Internet e a qualquer hora que desejar. E a experiência, graças ao alto nível de emoção, aos altos pagamentos que podem chegar a 35:1, bem como ao formato de cassino ao vivo, proporcionará uma tempestade de emoções a todos os jogadores!
Não se esqueça de que a Speed Roulette é um jogo de azar e deve ser vista apenas como uma forma de se divertir, não de ganhar dinheiro. Jogue em casinos on-line licenciados no Brasil e desfrute de um jogo seguro!
FAQ sobre Speed Roulette no Brasil
Qual é a aposta mínima e máxima na Speed Roulette?
A gama de apostas na Speed Roulette varia de 1 a 5000 unidades monetárias.
Preciso fazer download da Speed Roulette?
Não é necessário fazer o download do jogo, pois ele é transmitido no site do cassino.
Qual é a volatilidade e o RTP da Speed Roulette?
O jogo tem uma volatilidade média e um RTP de 97,3%.
Posso jogar Speed Roulette no meu celular?
A Speed Roulette está disponível em todos os dispositivos, incluindo telefones celulares.
Quais provedores oferecem segurança para jogar Speed Roulette no Brasil?
Você pode jogar as versões da Speed Roulette no Brasil da Evolution Gaming, Pragmatic Play e Playtech.